Before testing and calibrating your valve actuators, make sure the toggle switch is set to either the On1 or On2 position and confirm the valve moves when the switch is activated. If the switch is in the OFF (middle) position, the valve actuator won’t function, and the pump will shut off automatically to protect the system from damage.
The Attendant can control up to five 24 VAC valve actuators, while the Attendant Mini can control up to three. Both are compatible with valve actuators from manufacturers such as AquaStar, Hayward, Pentair, Jandy, Intermatic, and others.
Refer to the following wiring diagram for connection: Take note that the numbering of the actuator ports is from right to left, and backwards from the other numbering on the board.

To test the actuator to make sure that it is calibrated as well as turning in the correct direction, follow the following procedure.
Enter Installer Mode (if not already in installer mode).
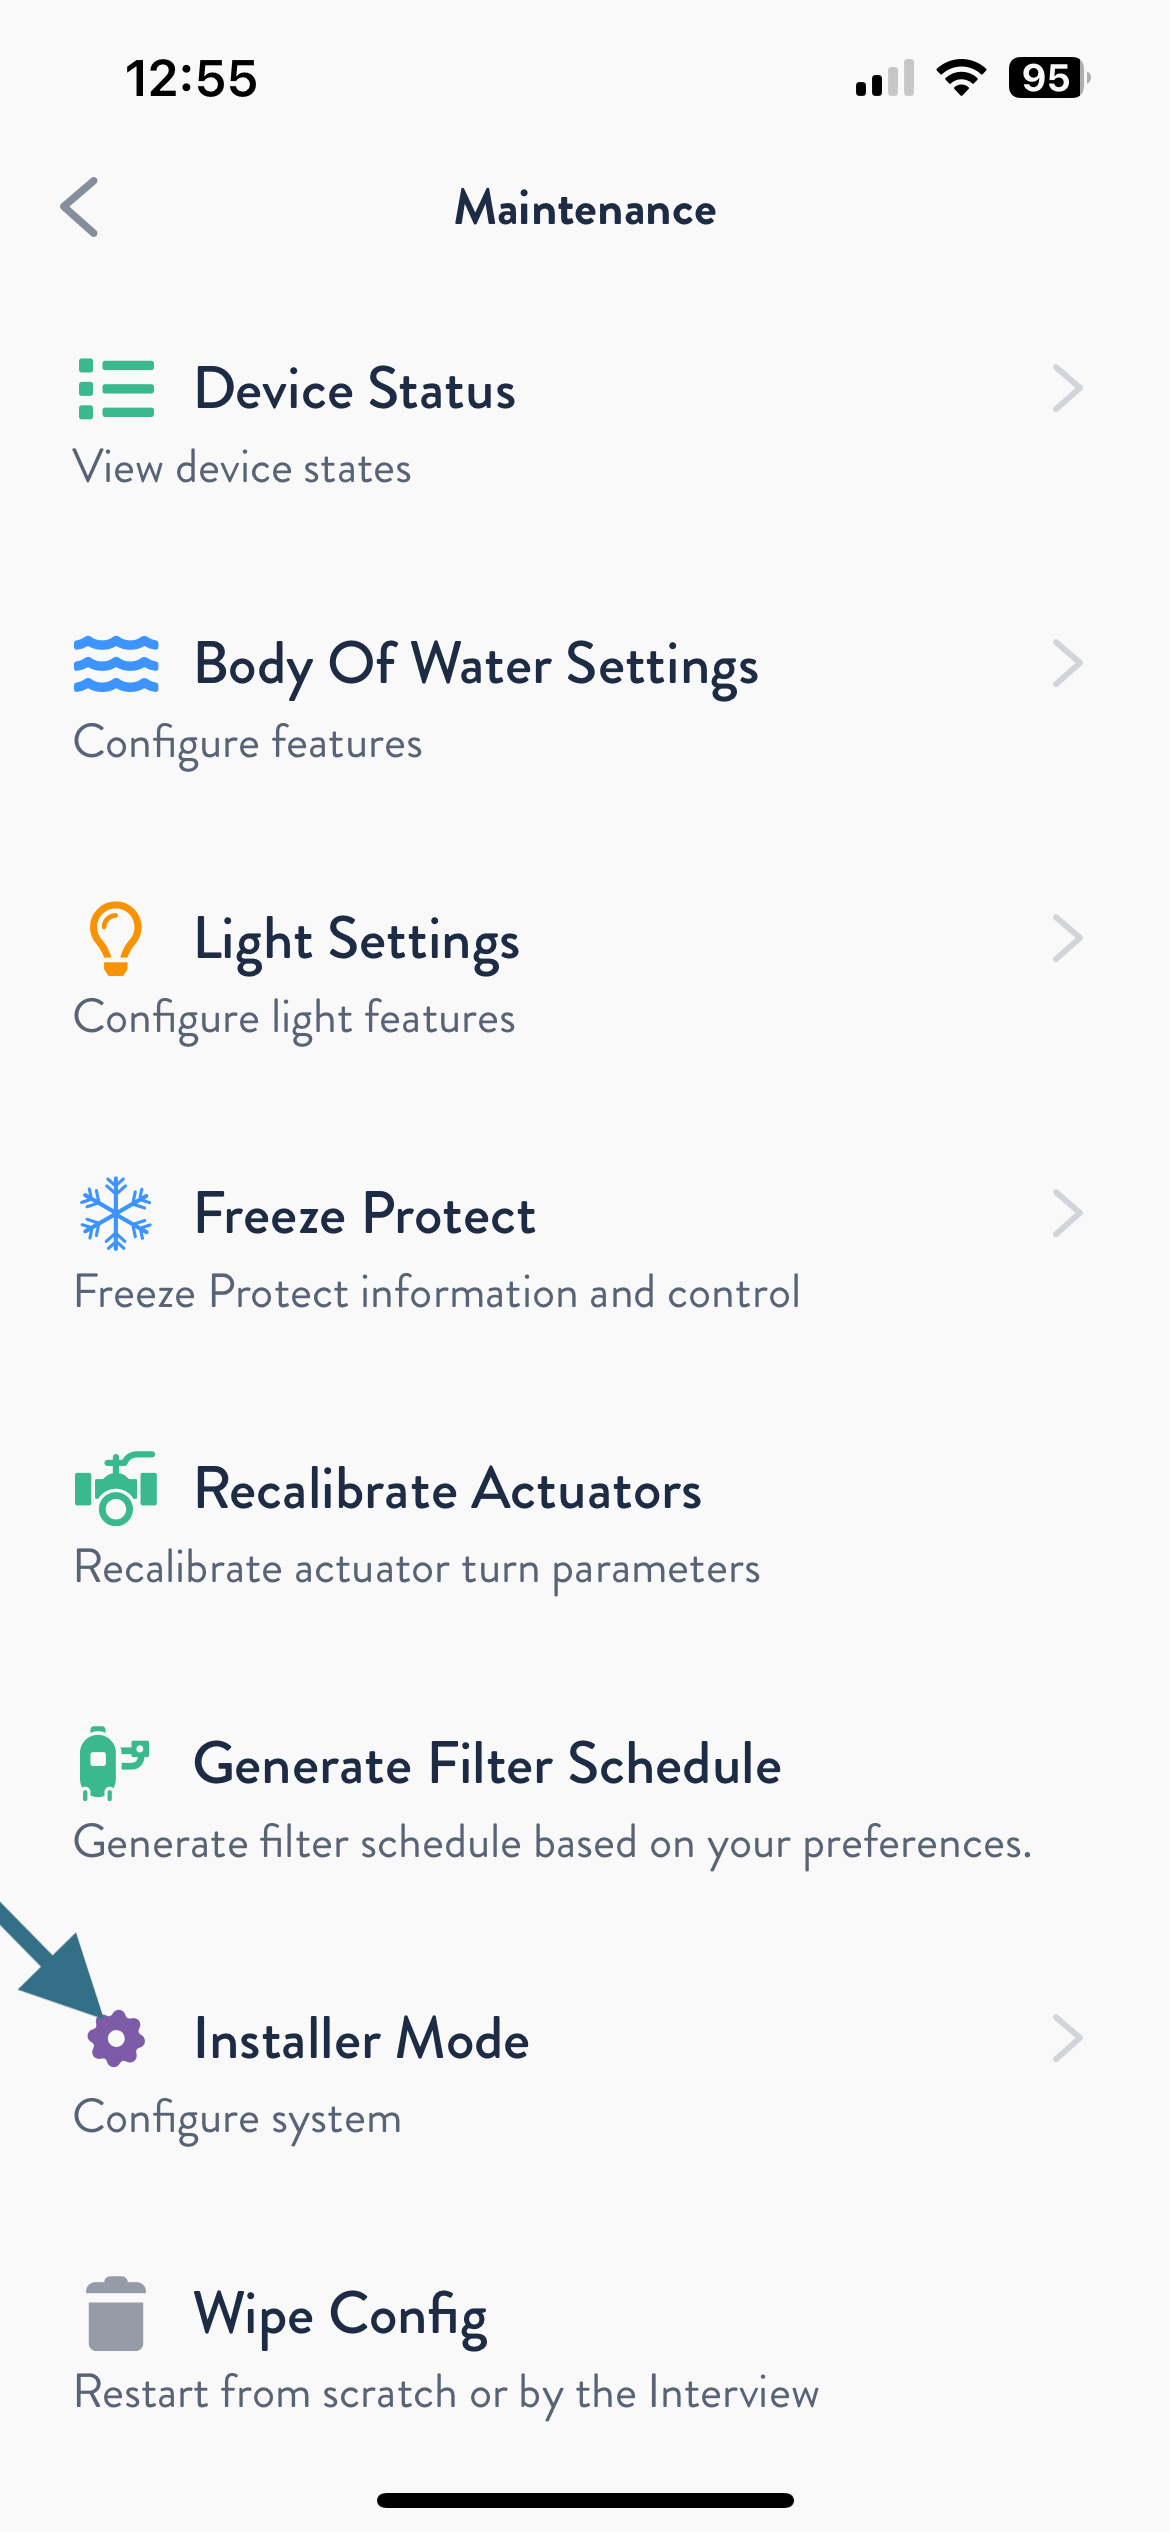
First, press the “Hamburger Menu” at the top right corner of the app. Next, press “Maintenance” at the bottom of the menu. Now, press “Installer Mode” and finally, slide the slider bar to the right to enter “Installer Mode”.


Calibrate the Actuator
Once you are in Installer Mode, press on the “Devices” tab. Next, select the “Actuator 3 Way” by pressing the arrow to the right of the actuator. Now, scroll down and press “Recalibrate”. You will now see an alert that states “Recalibration Requested”. Watch to make sure that the physical actuator turns in both directions. Wait until the actuator has completed the movement in both directions. Now, simply press the “Back Arrow” at the top left of the app to return to Installer Mode.


Testing the Actuator
The flow below is what we will be using for this example of how to test an actuator. Please keep in mind, that the actuators two positions will be named based on the flow that you are working with. In this example, we only have one actuator. The two positions for this are “Pool” and “Waterfall”. In other flows they could be named Pool, Spa, Laminar, Waterfall, Bubbler, etc.

Now that the actuator has been calibrated, you can test it in Installer Mode. In this example, note that the actuator position is in the “Pool” setting. Make sure that the physical actuator is in the correct position for Pool. Next, press the “Waterfall” tab to the right of Pool. Look and make sure that the actuator is physically turning to the position for the Waterfall. Last, press the “Pool” button and make sure that the actuator turns back to the pool position.
NOTE: If the valves position is the opposite of what is expected, you can flip the Actuator toggle switch on the actual actuator to reverse the position. (See the actuators installation manual for manufacturer specific directions for this procedure).


Repeat this process for all actuators that you have inline.