
Models 264A and 404A
Raypak AVIA heaters can be controlled using remote connections or RS485 connections.
Remote connections allow The Attendant to control the heater on/off state to manage a desired water temperature set point.
Using serial RS-485 connections, The Attendant can control the heater’s on/off status to maintain a set water temperature, retrieve error codes from the unit, and track both the water temperature and its rate of change. Additionally, The Attendant can rely on the heater’s internal water temperature readings, eliminating the need for a separate water temperature sensor in the plumbing (as long as there is no heater bypass).
Poolside Tech recommends using Serial RS-485 connections whenever possible, however, it is not required.
Serial RS-485 Connection (Recommended)

With the power off to both the AVIA and The Attendant, connect the red and black wires from the AVIA P12 RS485 adapter plugged in to the CHEM port (Raypak service kit 100-10004059) to D+ and D- terminals on one of The Attendant’s unused Data bus connectors. Connect the RED wire to D+ and the BLACK wire to D-. The RS485 adapter will need to be spliced, be sure to confirm the correct wire placement.


Once the wires have been connected, you can power The Attendant and AVIA and continue to program.
Setting the heater address
AVIA heaters support address setting with UI firmware 1.30 or later. If your heater has older UI firmware you will need to use separate bus ports to use multiple heaters.
If you are planning to connect more than one AVIA heater to a single bus port it is important to set unique addresses on each heater. Setting the heater address is accomplished by using the display screen of the heater.
- Go into program Menu by holding the Service + Mode Buttons for 5 seconds

- Press the Service button until you get to the Aux Com ID setting

- Press the Up/Down keys to set the address
- Press the Mode button to save

Programming
Once in installer mode, go to the Devices tab and press the + button. From the Add Device screen, select Heater.

Rename the heater, then choose Raypak as the brand and select the applicable model number.
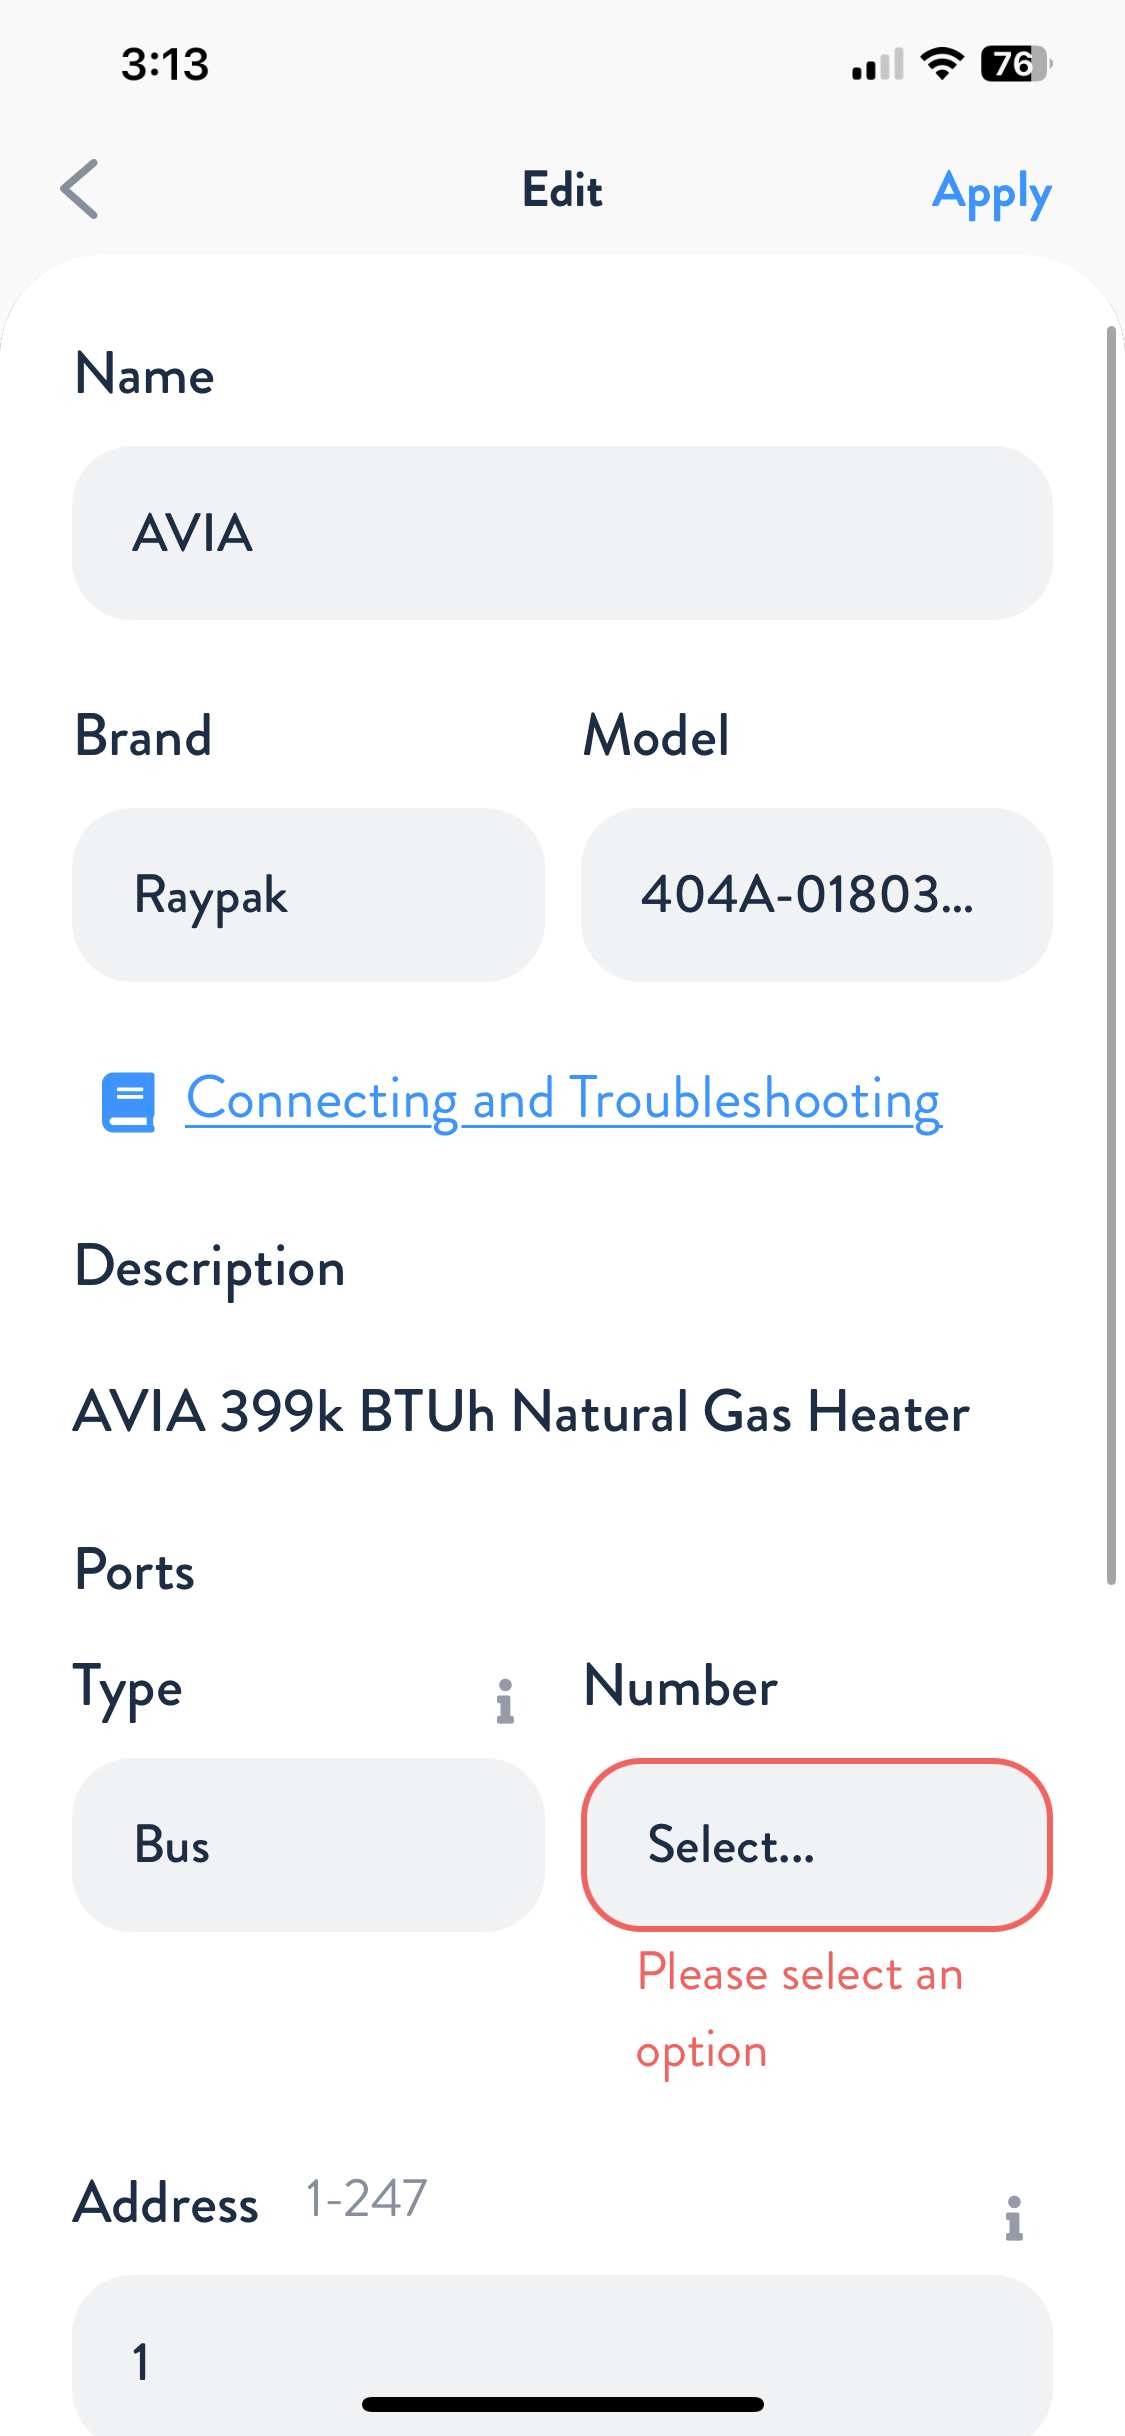
Next, choose BUS and BUS Port number for the heater. Press Apply, then navigate to the Flows tab and assign your heater to the appropriate flow. When finished, press Apply and Save.
If you want to use the water temperature sensor from the AVIA, make sure to remove the default water Thermistor out of the flow and out of devices. Then press Apply and Save. The Attendant will now factory default to the AVIA water temperature sensor.
Your Raypak AVIA is now wired, programmed, and ready to use!
Remote Wiring Connections
Turn on the power to the heater.
Push the MODE key to select “POOL” mode and set the temperature to the highest safe setting available on the control. The actual set point will be controlled by The Attendant.
Turn the MODE button to “OFF” and remove power from the heater and The Attendant.
On the Raypak remote control harness, connect the BLUE wire “Common 24V” and the BLACK/ORANGE wire for “POOL” operation to an open heater port on The Attendant.

Attach wire nut on the unused wire (ORANGE/BLACK) spa wire.

Install the Raypak remote control harness to the connector on the P8 terminal on the AVIA circuit board and turn power ON to the heater and The Attendant.
Set heat pump mode to OFF on touch pad. Press UP and DOWN buttons
simultaneously for 3 seconds until REMOTE displays on LCD. (This will
ENABLE remote operation and DISABLE the arrow keys and MODE button.)
Programming
Once in installer mode, go to the Devices tab and press the + button. From the Add Device screen, select Heater.
Rename the heater, then choose Raypak as the brand and select the applicable model number.

Next, choose Heater and the Heater Port number for the heater. Press Apply, then navigate to the Flows tab and assign your heater to the appropriate flow. When finished, press Apply and Save.
Your Raypak AVIA is now wired, programmed, and ready to use!