American Chillers can only be controlled using legacy Fireman Switch/Dry Contact connections. This connection type allows The Attendant to control the chiller on/off state to manage the desired water temperature set point.
Low Voltage Wiring Instructions
Turn all power off to the American Chiller before opening the wiring compartment.
Find the TB-1 Terminal Block: Locate the TB-1 Terminal Block in the wiring compartment of the American Chiller.
Identify the Purple Wire: Look for the purple wire connected to terminal #9. This wire loops from terminal #9, passes through the DOB, and then connects to terminal #10.
Cut the Wire: Cut the purple wire between terminal #9 and the DOB.
Add a 22-2 AWG Wire: Attach a 2 wire 22 gauge wire to each side of the cut purple wire with connectors.
Connect to The Attendant: Run the other ends of the 22 gauge wire to an open heater port on The Attendant. Refer to the wiring diagram below.

Once wiring is complete and wiring compartment is closed, power can be turned back on to the Chiller.
Programming the American Chiller
On the American Chiller screen, set the desired temperature to the safest lowest setting. The Attendant will control the actual temperature of the water.
Programming The Attendant
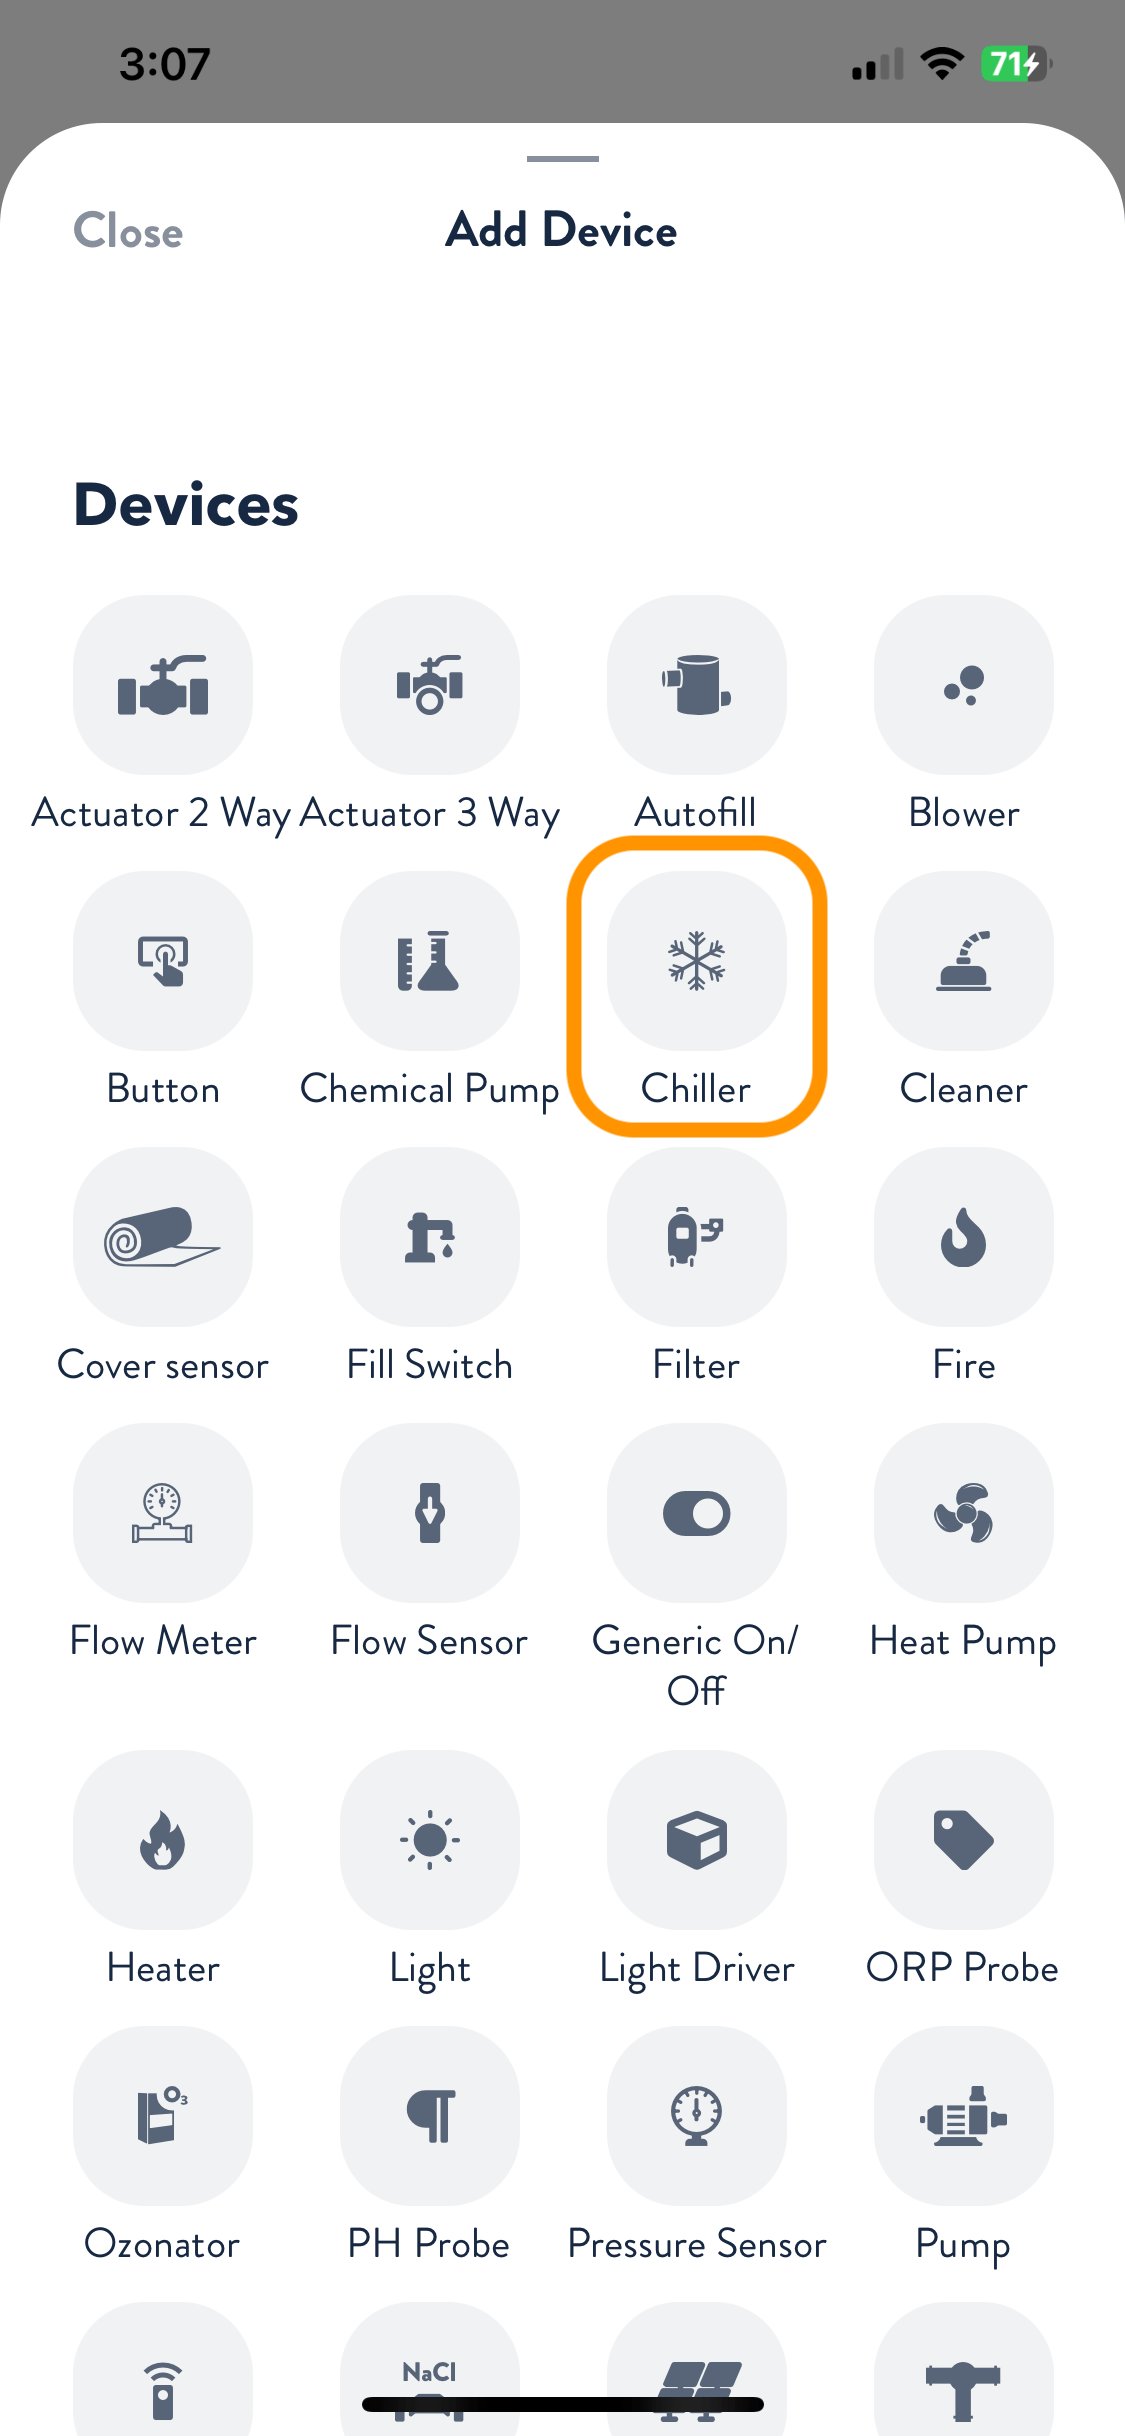
Once in installer mode, go to the Devices tab and press the + button. From the Add Device screen, select Chiller.
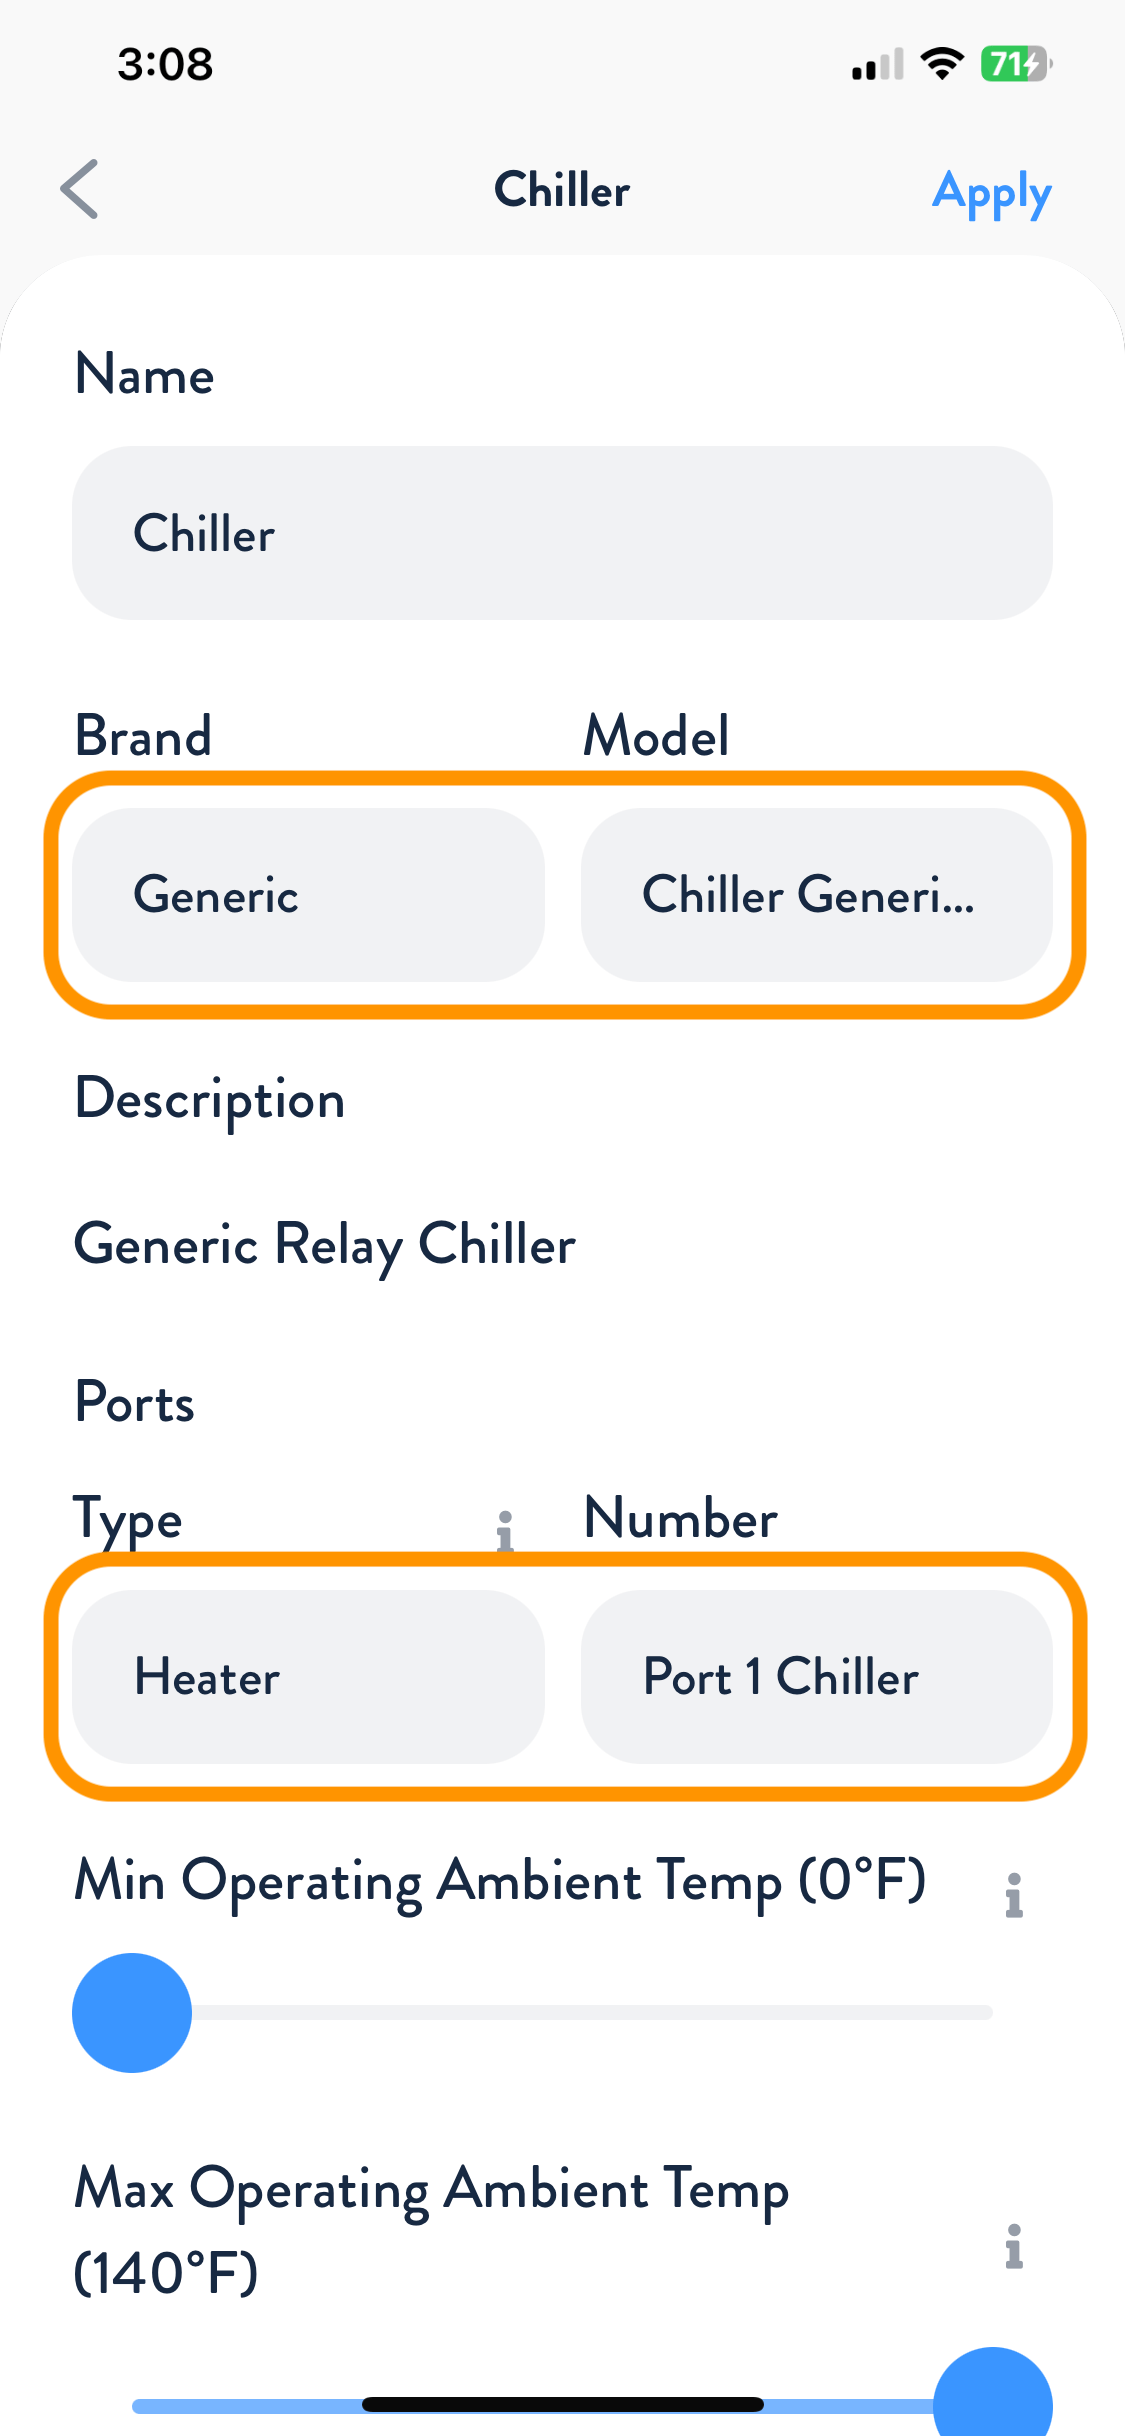
Choose Generic as the brand. Next, choose the port type and number for the Chiller. Adjust the minimum and maximum operating ambient temperature to match the heater specifications. Press Apply, then navigate to the Flows tab and assign your heater to the appropriate flow. When finished, press Apply and Save.
Your American Chiller is now wired, programmed, and ready to use!